• A smart thermostat can help keep your home comfortable while reducing energy waste, especially during hot Laguna Woods summers. This checklist shows the key steps to make sure the setup is done right.
• The installation process starts with checking HVAC compatibility, turning off power, labeling wires, and connecting the new device carefully. Following each step helps avoid common setup problems and improves day-to-day control.
• After installation, proper app setup, testing, and thermostat placement all matter for performance. The article also shares practical advice, common mistakes to avoid, and answers to common questions homeowners ask.
Set the Right Goal for a Smart Thermostat Upgrade
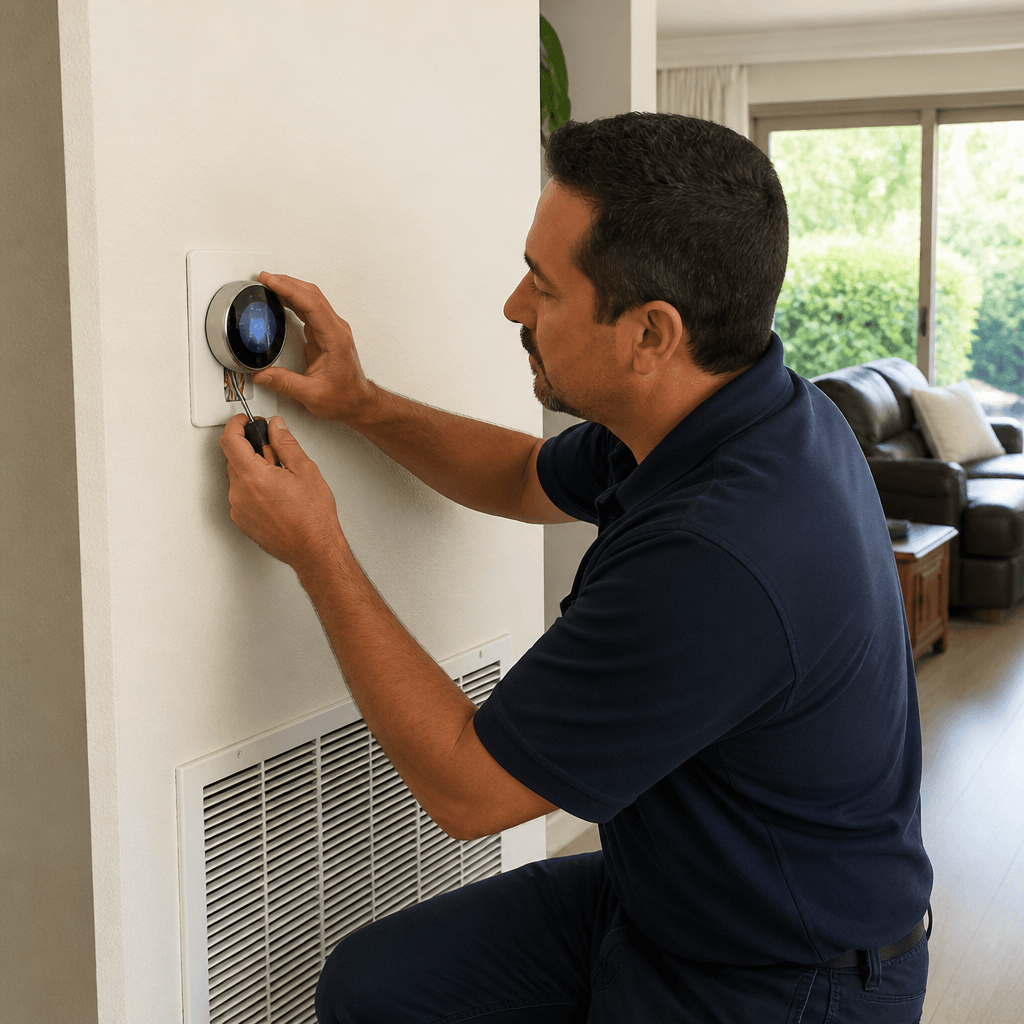
The main goal of the smart thermostat installation process explained is to help your home keep a steady, comfortable temperature while using less energy. In Laguna Woods, that matters even more during summer when cooling costs can climb fast.
A good install should also make your system easy to control from your phone and work well with your current HVAC setup. If you are thinking about replacing an older unit, thermostat upgrades can be a smart step toward better daily comfort.
Another key goal is making sure the new thermostat is wired and set up the right way so it responds correctly to your home’s needs. When that is done well, you get smoother operation, more control, and fewer surprises during the hottest part of the year.
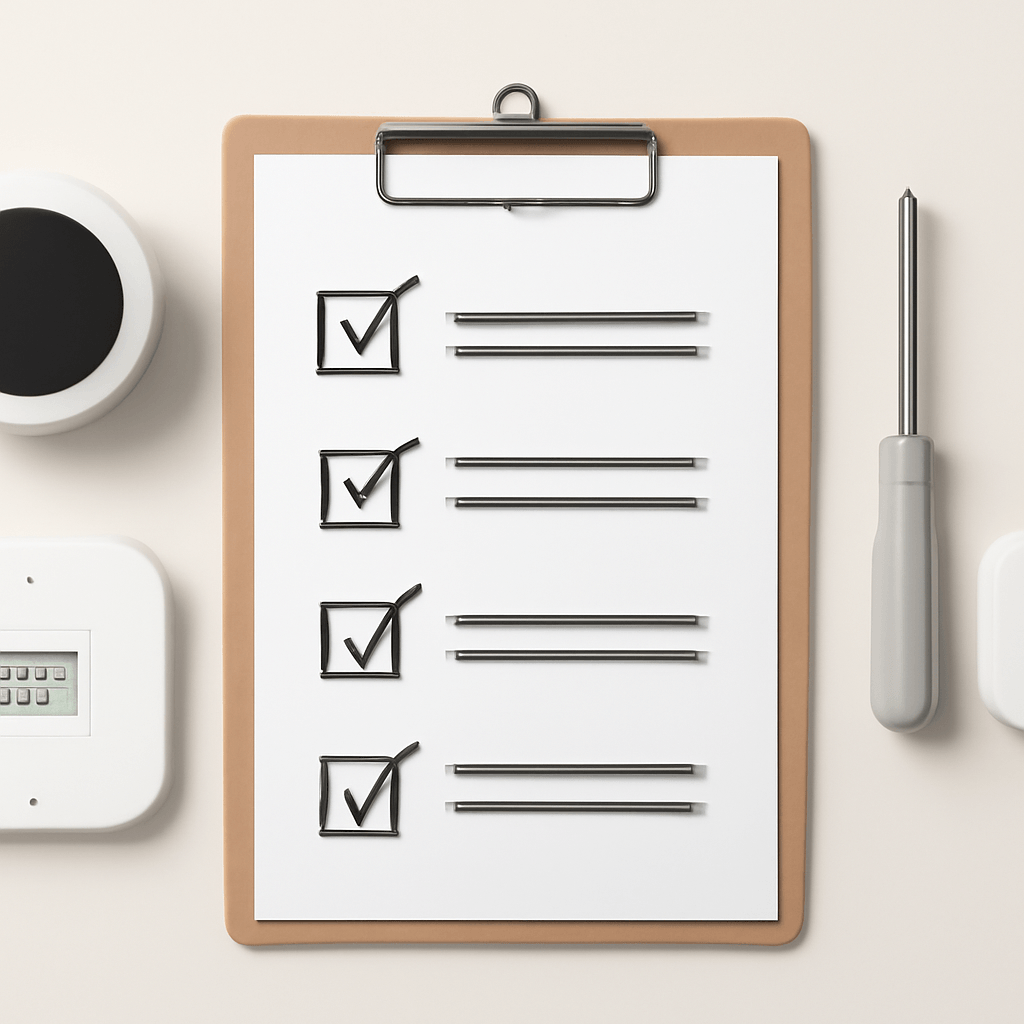
Smart Thermostat Installation Checklist
Use this checklist to keep the smart thermostat installation process explained simple, organized, and effective. A few careful steps can help your new thermostat work better from day one.
- ✅ Confirm your HVAC system works with the new thermostat
- ✅ Turn off power before any wiring starts
- ✅ Remove the old thermostat carefully
- ✅ Label each wire before disconnecting it
- ✅ Mount the new base on a flat, secure surface
- ✅ Connect the wires according to the setup guide
- ✅ Restore power and test heating and cooling modes
- ✅ Connect the thermostat to Wi-Fi and set preferences
Once these steps are complete, your thermostat should be ready to help manage indoor comfort more efficiently. In a warm place like Laguna Woods, that can make a real difference during summer.
If you want better daily control and fewer temperature swings, this checklist gives you a solid place to start. A careful setup now can lead to smoother comfort and better energy use later.
Additional Advice
Before you begin, make sure your thermostat choice matches your system type and wiring setup. A smart device that does not fit your HVAC setup can lead to setup problems and weak performance.
It also helps to think about where the thermostat is placed in the home. Keep it away from direct sunlight, vents, and other heat sources, since those can cause the unit to read the room the wrong way.
Many homeowners also forget to review the app setup after the hardware is in place. Taking a few extra minutes to set schedules, alerts, and comfort preferences can make the smart thermostat installation process explained much more useful day to day. If you need help with thermostat upgrades, working with a trained pro can save time and reduce stress.
Another smart move is to watch how the system runs over the first few days. If the temperature feels off or the unit seems slow to respond, small wiring or setup issues may need attention right away.
Frequently Asked Questions
What is the smart thermostat installation process?
It is the step-by-step setup needed to replace an old thermostat with a smart model. The process usually includes turning off power, removing the old unit, connecting the wires, and setting up the new device.
Can I install a smart thermostat myself?
Yes, you can install a smart thermostat yourself if your system is compatible and you are comfortable working with wiring. If the setup looks unclear or the wiring is not labeled, a professional install is the safer choice.
Why does HVAC compatibility matter?
HVAC compatibility matters because not every smart thermostat works with every heating and cooling system. If the thermostat does not match your equipment, it may not control the system correctly or may not work at all.
How long does a smart thermostat installation usually take?
It usually takes about one to two hours for a basic installation. The time can be longer if the wiring is older, the system is complex, or the thermostat needs extra setup.
Does a smart thermostat help lower energy use?
Yes, a smart thermostat can help lower energy use by letting you control temperature settings more efficiently. When it is installed correctly and programmed well, it can reduce wasted heating and cooling.
Final Thoughts on Smart Thermostat Setup
A smart thermostat can be a simple upgrade, but the details matter if you want it to work the way it should. Careful setup, proper wiring, and good system matching all play a part in reliable comfort.
For homeowners in Laguna Woods, that matters even more during the hot summer months when indoor cooling needs are higher. With the right approach, the smart thermostat installation process explained can lead to better control, steadier comfort, and smarter energy use, so follow us on social media.